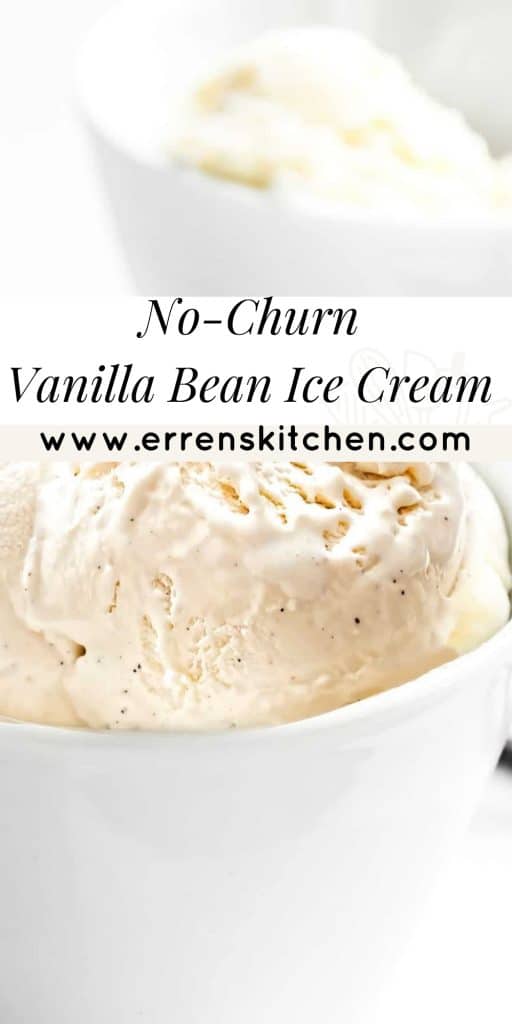
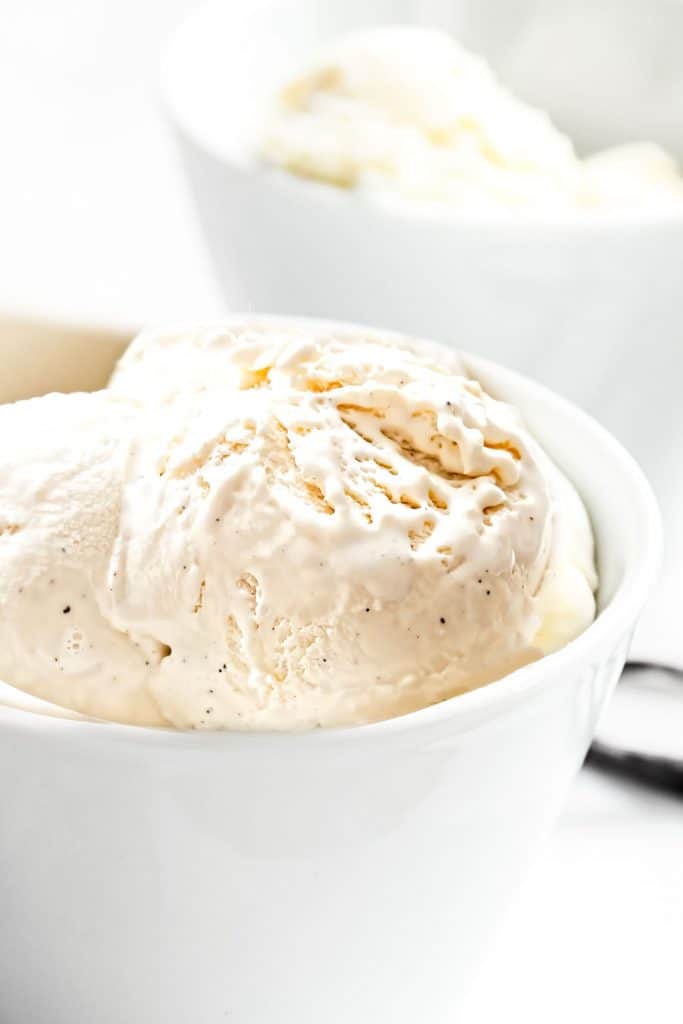
This Homemade Vanilla Bean Ice Cream recipe takes just 5 minutes to prepare! It’s an easy, egg free, no churn version that’s truly delicious.
There are few things better than a bowl of delicious, vanilla ice cream – Cool, creamy and indulgent – to me, it’s one of the best things in the world and this recipe makes it super simple to make it at home.
You don’t have to own an ice cream maker to make your own freezer friendly, delicious ice cream. This no-churn vanilla ice cream recipe makes ice cream that’s creamy, delicious, and hassle free.
Why This Recipe Works
- Heavy Whipping Cream adds a rich, creamy flavor
- Sweetened Condensed milk prevents crystallization and keeps the ice cream velvety smooth even after freezing.
- Powdered Milk gives the mixture structure and the texture of traditional ice cream.
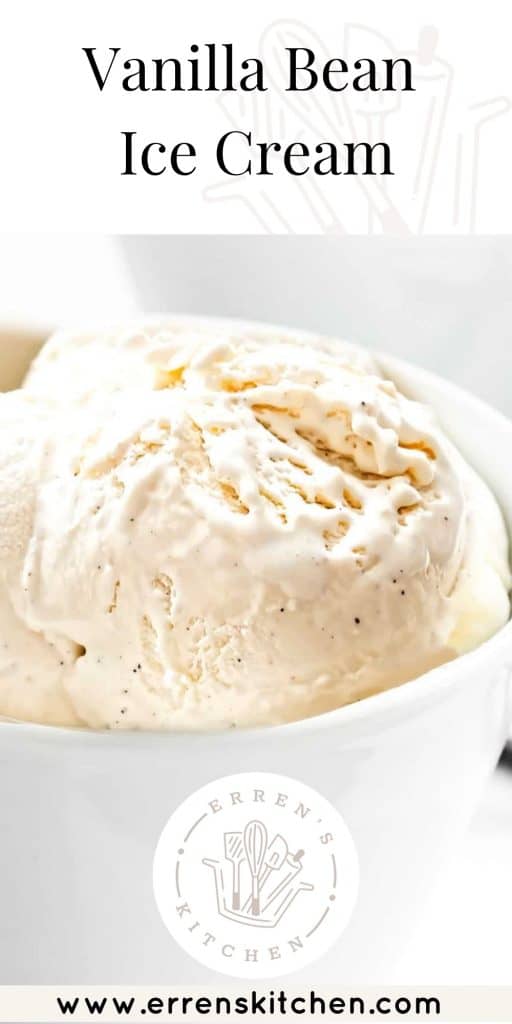
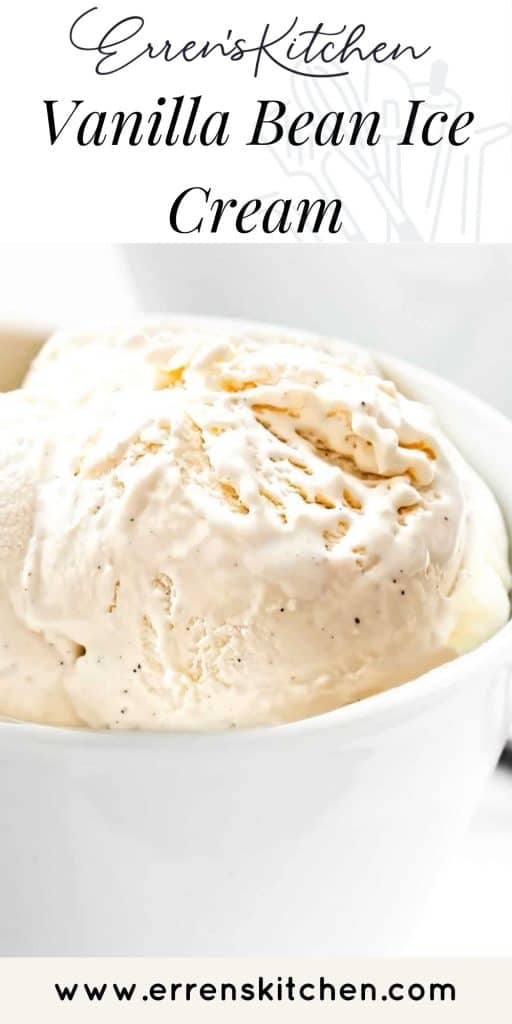
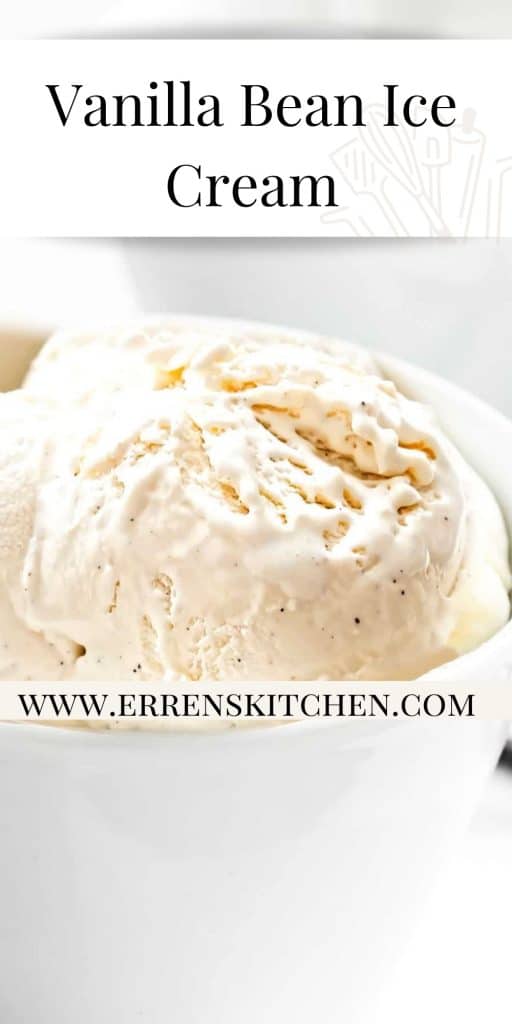
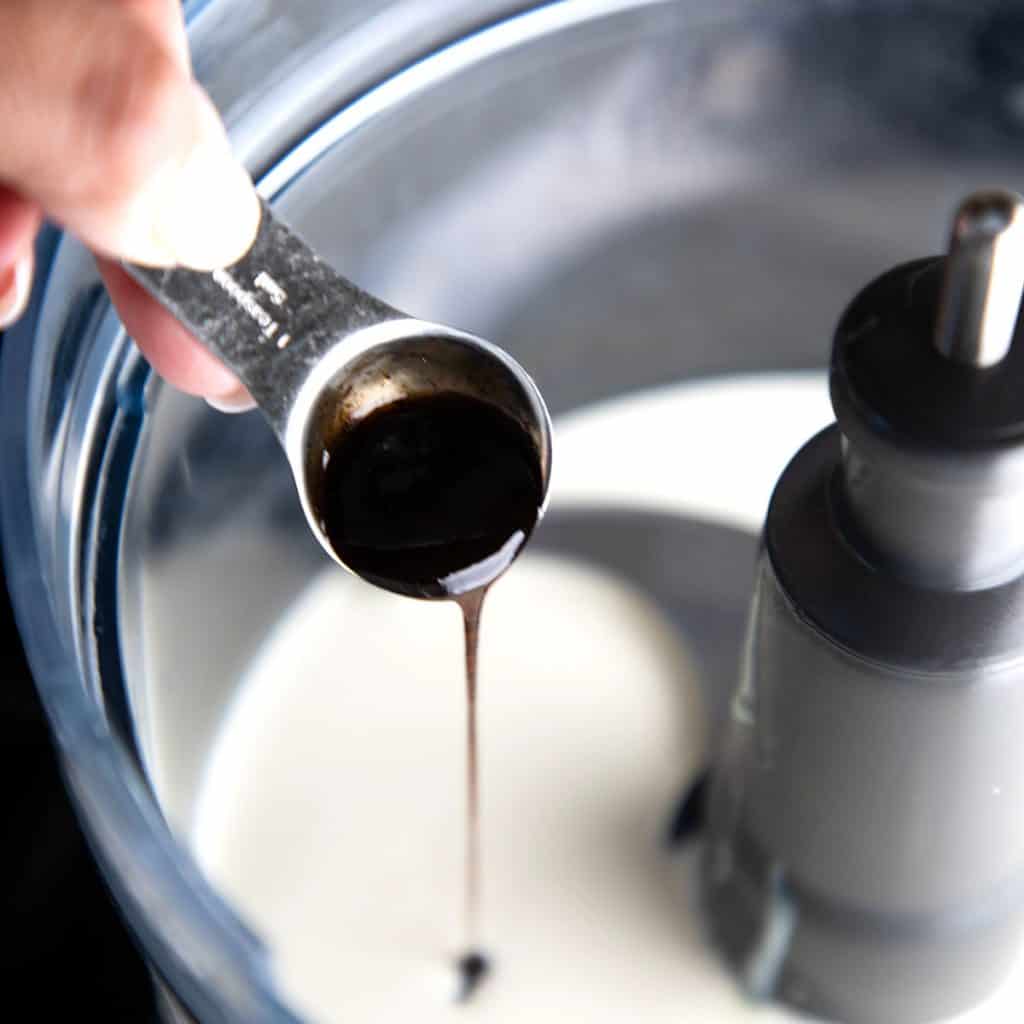
- Vanilla bean paste adds a luxurious taste and gives the ice cream, it’s iconic black speckles.
No Churn Ice CreamVs Ice Cream Maker
An ice cream maker works by slowly stirring (churning) a mixture (usually made up of cream, egg yolks and sugar) as it freezes which adds air into the mixture so it freezes scoopable rather than forming a solid block. In this recipe, the cream and condensed milk are whipped together, trapping the air before freezing, cutting out the need for churning.
Ingredient Notes
- Condensed Milk: Condensed milk is the perfect base for a homemade ice cream, it helps to bind everything together and sweetens the dessert without the need to add more sugar.
- Heavy Whipping Cream: Heavy whipping cream, double cream (in the UK), and thickened cream (in Australia) are essential to the texture and taste of homemade ice cream.
- Vanilla Bean Paste: I like to use vanilla bean paste as it adds luxury and decadence, but if you don’t have it on hand you can use vanilla extract too.
- Powdered Milk – You can use any powdered milk in this recipe. This is optional as it just helps to add structure to the ice cream, but I’ve made it without and the only difference is a softer consistency.
Equipment Needed
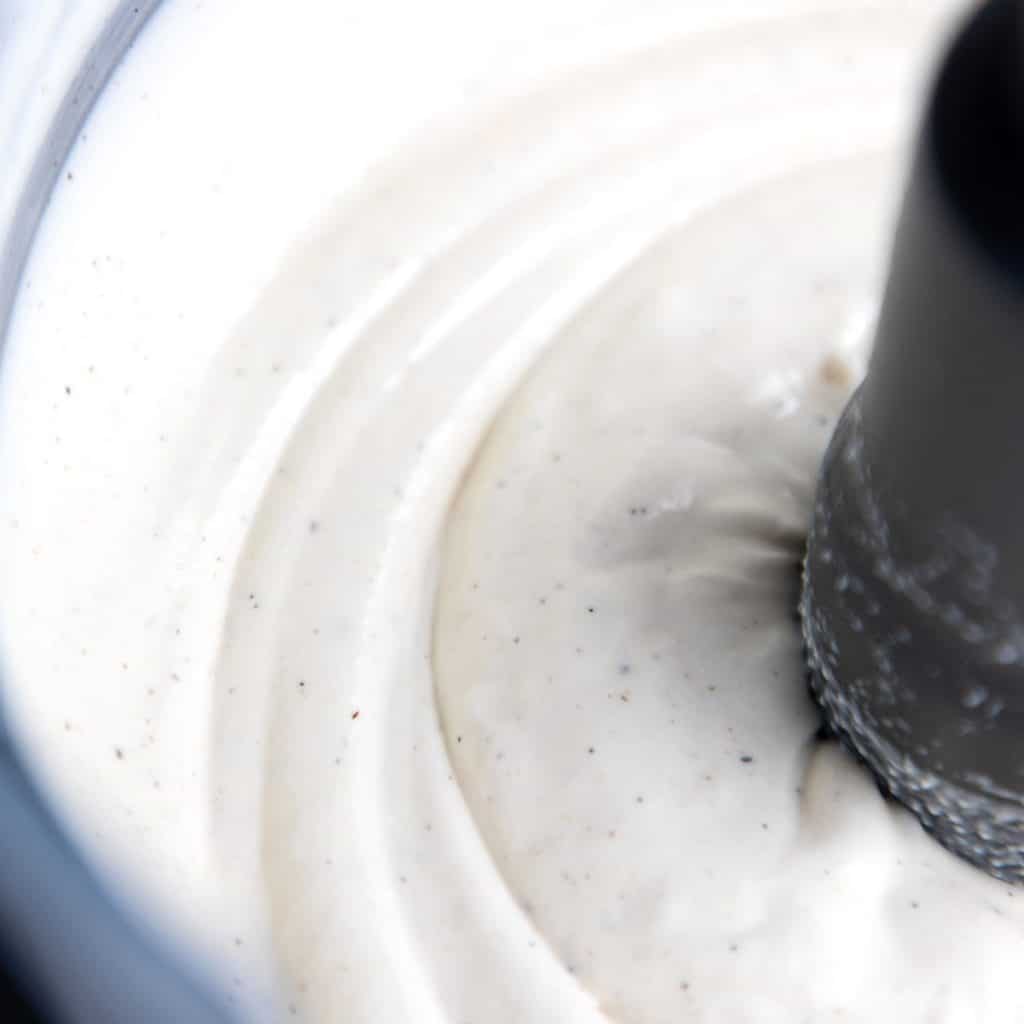
To make this ice cream you’ll need a mixer, blender or food processor to add enough air to the mixture when whipping. This makes it scoopable instead of forming a solid mass.
You’ll also need a freezer-safe container as standard plastic containers can crack or break when stored in the freezer. When in doubt, you can use a freezer bag or metal loaf pan covered with plastic wrap.
How To Make Homemade Vanilla Ice Cream
Add condensed milk, cream, powdered milk and vanilla to a bowl. Whip until thick, then transfer to a freezer-safe container and freeze.
Step By Step Instructions
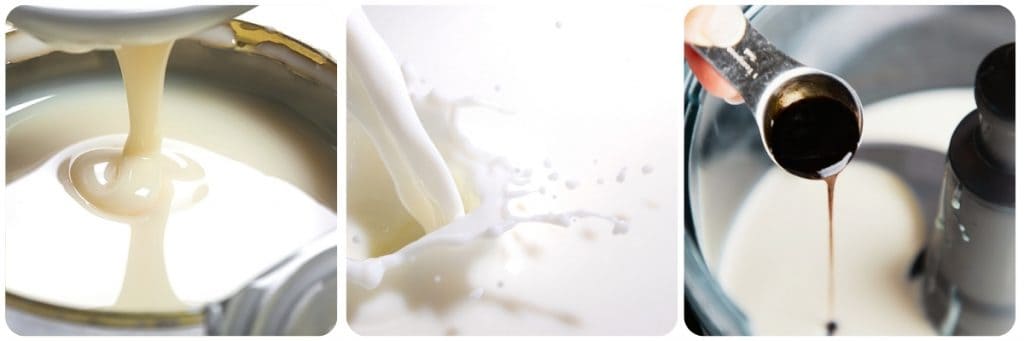
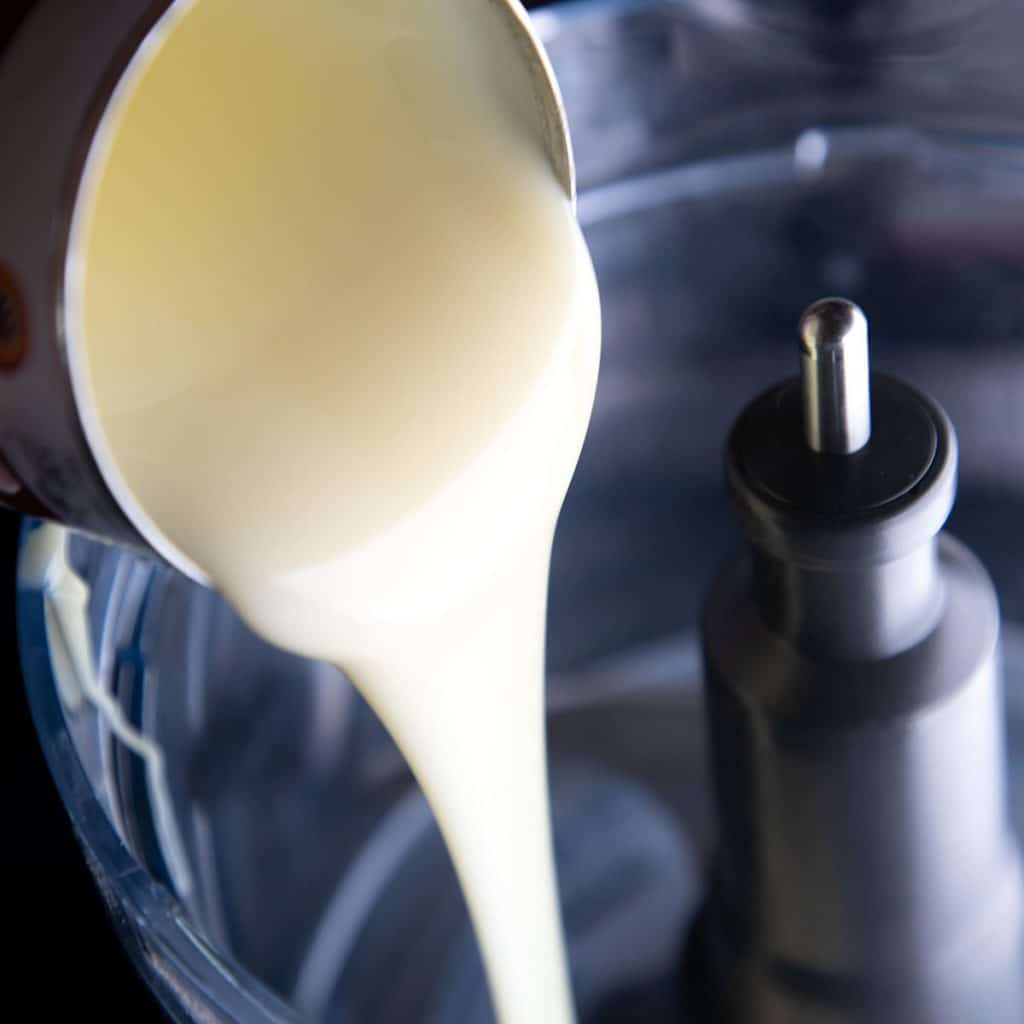
Add the condensed milk to a food processor or mixing bowl.
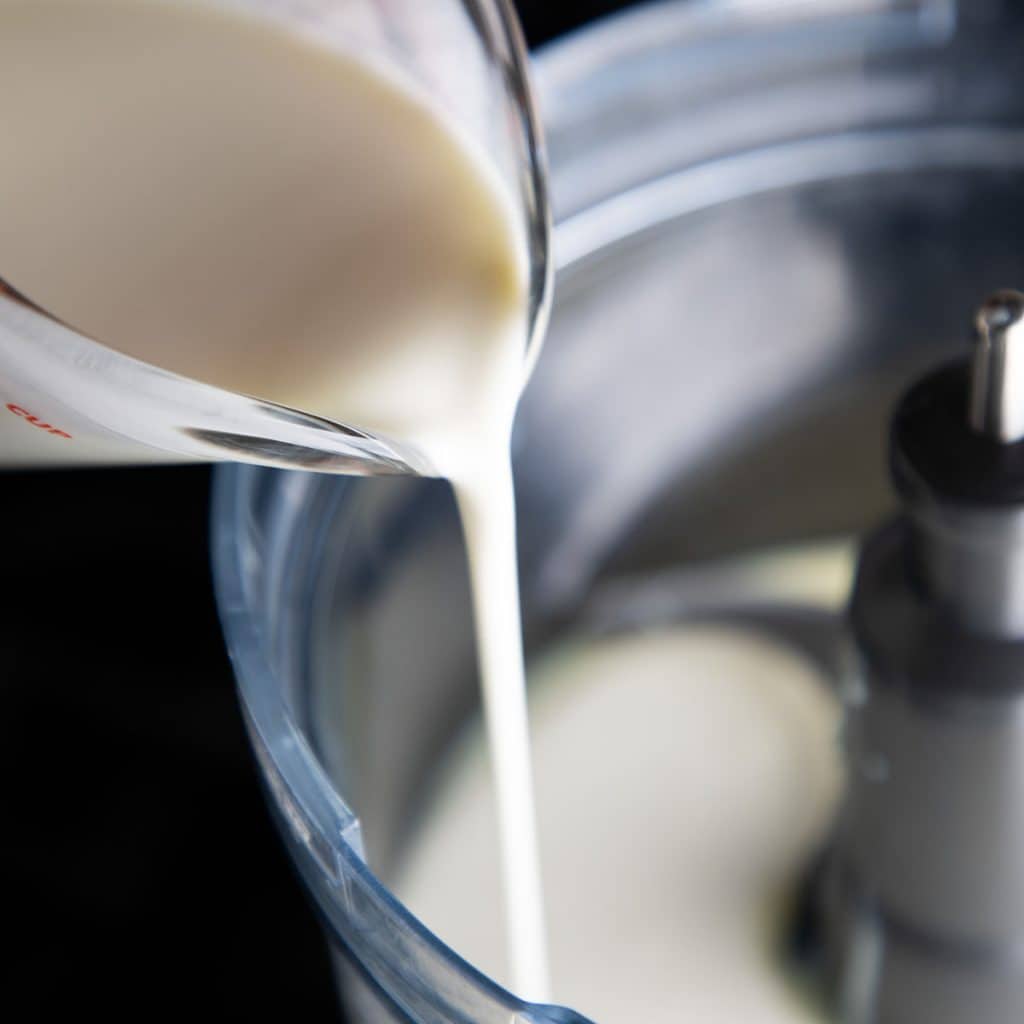
Add cold whipping cream.
Add the vanilla bean paste and powdered milk.
Whip on high speed until the mixture thickens.
Pour the mixture into a freezer-safe container and freeze until firm, at least 6 hours.
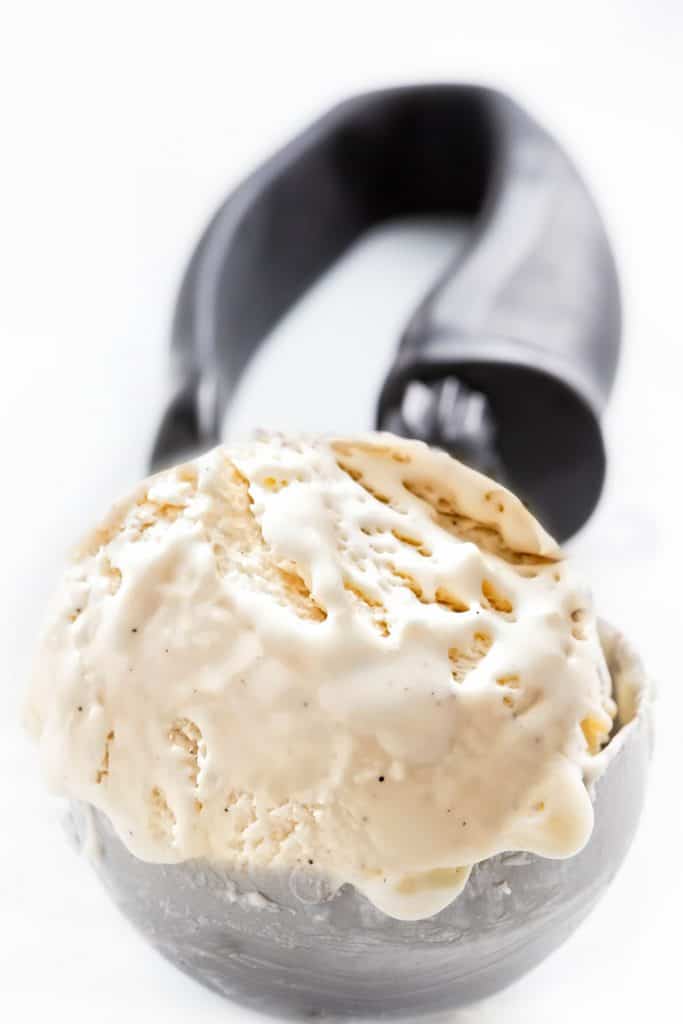
Serve and enjoy!
Tips & Variations
- Allow the vanilla bean ice cream to sit at room temperature for around 20 minutes before scooping into dishes, this ensures your ice cream is at the perfect consistency to eat and allows any ice crystals that have formed to melt.
- Run your ice cream scoop under hot water before scooping the ice cream straight from the freezer, it helps the scoop to glide through the ice cream, making it easier to serve.
- It’s always best to start with cold ingredients – ice cream made in an ice cream maker works on the idea of getting the mixture as cold as possible before you churn, it’s best to try and mimic this.
- Do not substitute the condensed milk. To make sure your ice cream doesn’t become icy you should avoid using ingredients that don’t freeze well. Condensed milk ensures a creamy consistency.
- You can add so many wonderful things to this ice cream to make a whole new dish! Try adding caramel swirls, Pureed fruit or candy. I’ve used this recipe to make my Chocolate Chip Ice Cream which is my son’s new favorite dessert.
Storing Instructions ?
- Once initially frozen for up to 5 hours the ice cream is ready to serve.
- Freezing the ice cream in a metal container will make it freeze faster than in glass. However I freeze mine in a plastic container with a lid which works perfectly well.
- If you are going to make homemade ice cream on a regular basis it might be worth investing in an insulated ice cream tub.
- Keep the ice cream in a suitable freezer-safe container for up to 6 months.
FAQs
Homemade is always healthier! When you make homemade ice cream you aren’t packing it with the additives used in store bought products.
It is best to stick to the ingredients stated, you require high fat content to obtain a delicious thick ice cream.
Cold condensed milk is necessary in homemade ice cream, it is a key ingredient and helps make the ice cream softer and easily scoopable.
Stay Updated
Receive new recipes & dinner ideas straight to your inbox!
Let’s Make
Vanilla Bean Ice Cream
Impress your guests with this homemade, rich and indulgent ice cream made from scratch. With few ingredients and a little effort it’s a super easy option for home entertaining.
Prep10 minutes
Total10 minutes
Freezing Time: 5 hours
Serves: 8
Prevent your screen from going dark
Instructions
-
Add the condensed milk, cream, powdered milk and vanilla to a bowl. Whip using a food processor, mixer or blender until thick.
-
Transfer to a freezer-safe container and freeze until set (about 5 hours).
Tips + Notes
- Allow the ice cream to sit at room temperature for around 20 minutes before scooping into dishes, this ensures your ice cream is at the perfect consistency to eat and allows any ice crystals that have formed to melt.
- Run your ice cream scoop under hot water before scooping the ice cream straight from the freezer, it helps the scoop to glide through the ice cream, making it easier to serve.
- It’s always best to start with cold ingredients – ice cream made in an ice cream maker works on the idea of getting the mixture as cold as possible before you churn, it’s best to try and mimic this.
- Do not substitute the condensed milk. To make sure your ice cream doesn’t become icy you should avoid using ingredients that don’t freeze well. Condensed milk ensures a creamy consistency.
Nutrition Information:
Calories: 295 (15%)| Carbohydrates: 29g (10%)| Protein: 5g (10%)| Fat: 18g (28%)| Saturated Fat: 11g (69%)| Cholesterol: 68mg (23%)| Sodium: 82mg (4%)| Potassium: 228mg (7%)| Sugar: 28g (31%)| Vitamin A: 700IU (14%)| Vitamin C: 1.5mg (2%)| Calcium: 177mg (18%)| Iron: 0.1mg (1%)
Nutritional Data Disclaimer

