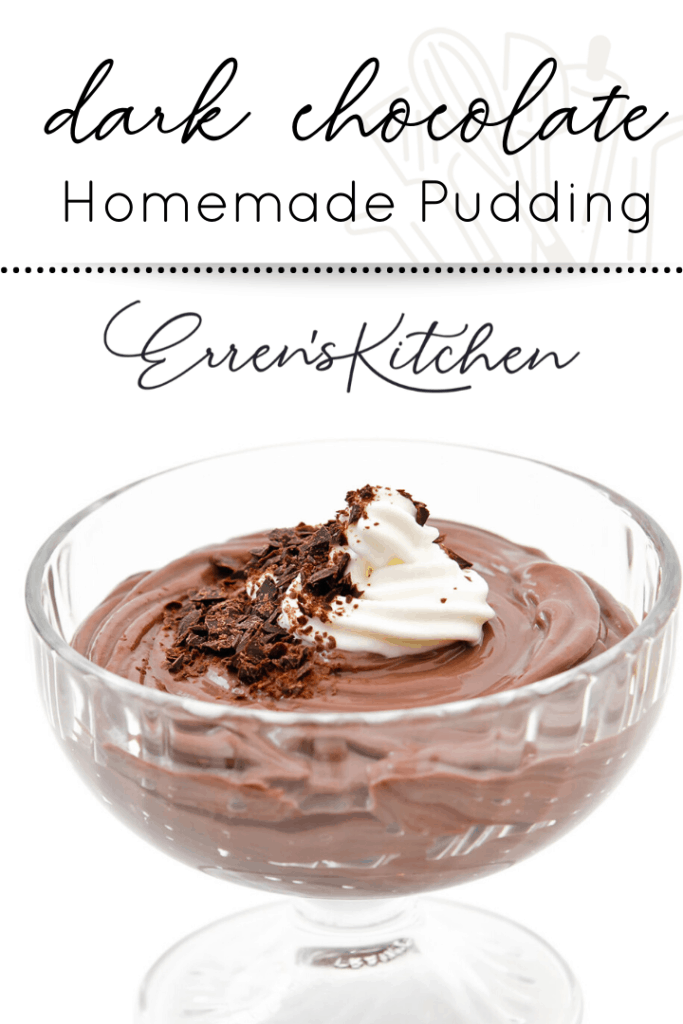
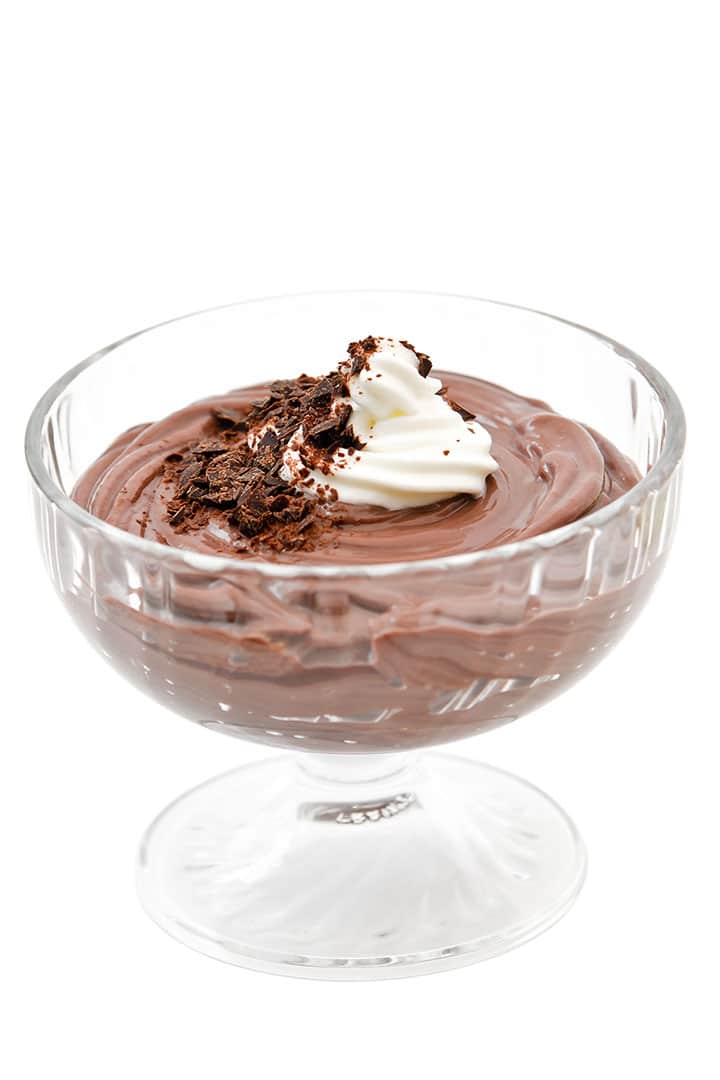
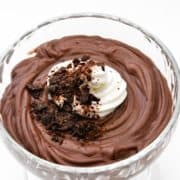
Very few people can resist a chocolate dessert, and this chocolate pudding recipe is no exception. This rich, creamy pudding licked off a spoon, is a joy to experience.
Homemade Dessert Anyone Can Make
Chocolate pudding from scratch is really simple to make and is so much better than the store-bought stuff. Once you try this recipe, I guarantee you will never use a boxed recipe again (no matter how quick it is to make).
Why This Recipe Works
- Using dark chocolate instead of just cocoa powder gives the pudding a rich deep flavor.
- Adding Butter at the end gives it a silky smooth consistency.
- Using vanilla adds an extra depth of flavor
- A little salt cuts the sweetness giving a perfect balance.
Step By Step Instructions
Add the cocoa powder, cornstarch, salt and sugar to a saucepan. Then whisk it together with Ithe milk, egg yolks, and vanilla.
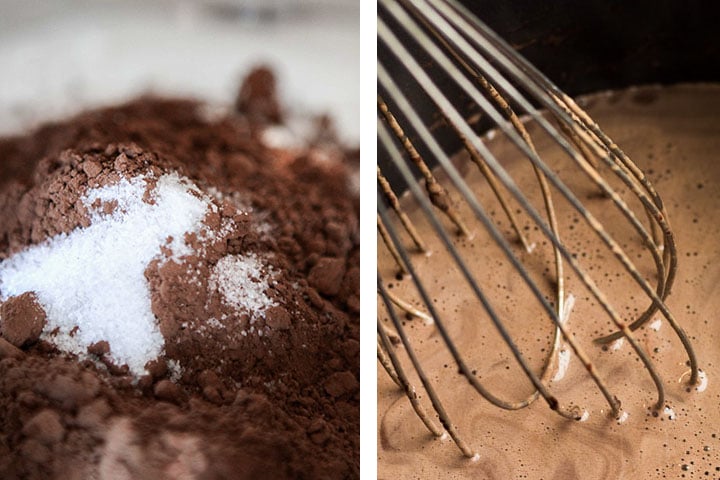
Cook over medium-high heat whisking constantly, until the mixture comes to a simmer. Add the chocolate. While continuing to constantly mix, bring to a full boil.
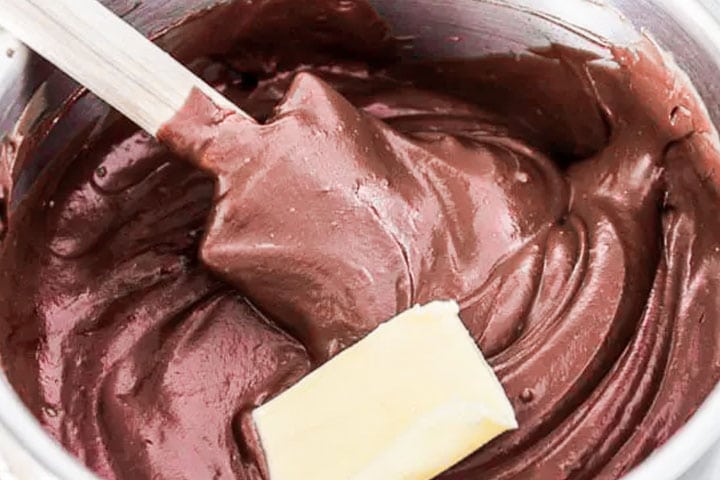
Reduce the heat to maintain a simmer, and continue whisking until thick, about 2 or 3 minutes more.

Stir in the butter.
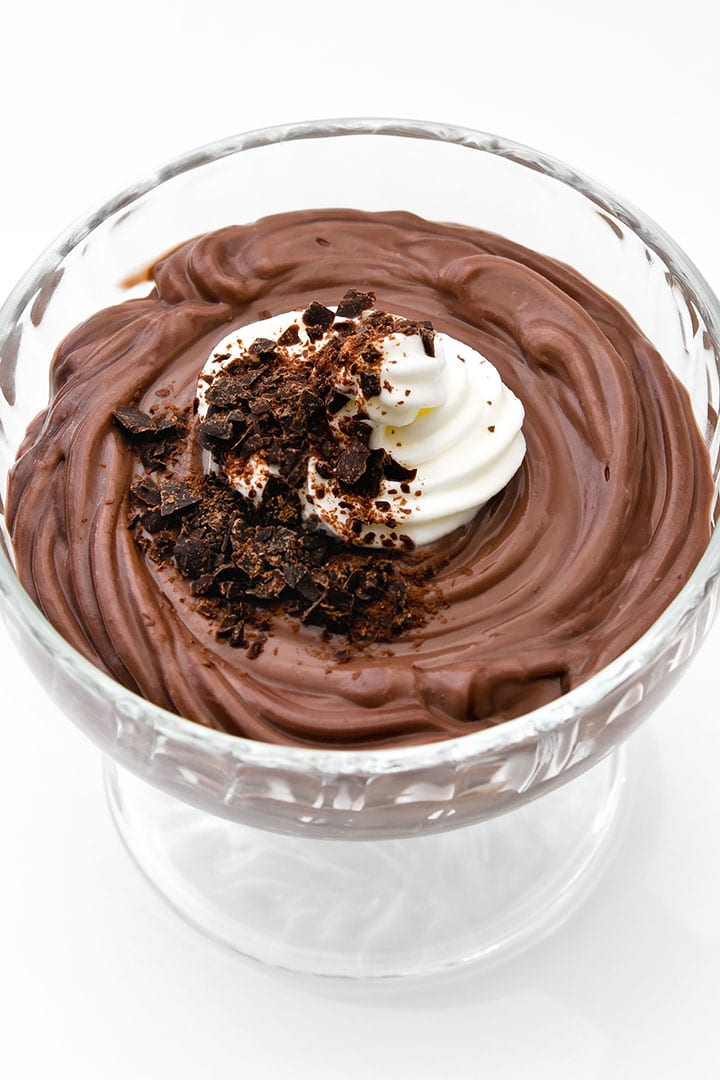
Pour the pudding into 6 small glasses or ramekins. Place a piece of plastic wrap directly onto the pudding and refrigerate for at least 4 hours or until set.
For Best results
- Buy the best quality chocolate you can afford as it will make a big difference to the end result.
- Use whole milk lighter milk may cause the pudding to go runny.
- Don’t skip the plastic wrap. If it doesn’t touch the mixture as it cools it will form a skin.
FAQs
Properly stored in the fridge in an airtight container, homemade chocolate pudding will last 5-7 days.
Because it contains cornstarch, pudding can change texture when frozen so it’s not recommended.
Stay Updated
Receive new recipes & dinner ideas straight to your inbox!
Let’s Make
Homemade Dark Chocolate Pudding
Desert on a weeknight will never be the same once you’ve made this decadent yet easy dessert.
Prep5 minutes
Cook10 minutes
Total15 minutes
Prevent your screen from going dark
Instructions
-
In a saucepan, whisk together the milk, sugar, cocoa powder, cornstarch, egg yolks, vanilla, and salt. Cook over medium-high heat whisking constantly, until the mixture comes to a simmer. Add the chocolate and butter.
-
While continuing to constantly mix, bring to a full boil. Reduce the heat to maintain a simmer, and continue whisking until thick, about 2 or 3 minutes more.
-
Pour the pudding into 6 small cups or ramekins. Place a piece of plastic wrap directly onto the pudding and refrigerate for at least 4 hours or until set.
Tips + Notes
I recommend Dark Chocolate which is around 55% cocoa solids, as it tastes great without being too sweet, melts quickly and has a good balance of flavor.
Nutrition Information:
Calories: 271 (14%)| Carbohydrates: 30g (10%)| Protein: 5g (10%)| Fat: 14g (22%)| Saturated Fat: 8g (50%)| Cholesterol: 83mg (28%)| Sodium: 172mg (7%)| Potassium: 272mg (8%)| Fiber: 2g (8%)| Sugar: 24g (27%)| Vitamin A: 335IU (7%)| Calcium: 115mg (12%)| Iron: 2.4mg (13%)
Nutritional Data Disclaimer

Update Notes: This post was originally published on Aug 15, 2014, but was republished with step by step instructions, new photos, and tips in December of 2019.
